
How to stream Popcorn Time on a Hisense Laser TV with an external source
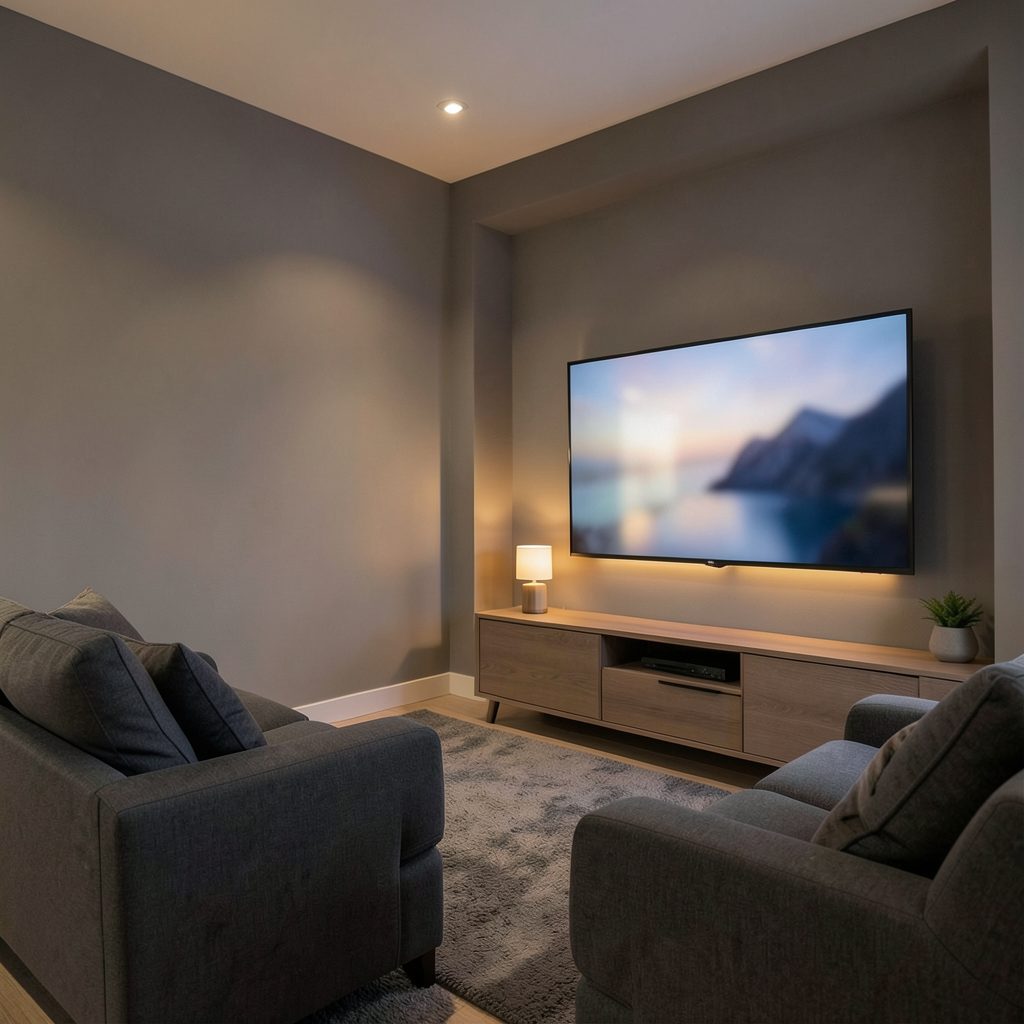
Hisense Laser TVs bring a cinema-scale image into Australian living rooms without the bulk of a traditional projector, but the unit itself is fundamentally a display engine rather than a full smart computing platform. Apps such as Netflix, YouTube, and Kayo come pre-installed on the built-in VIDAA interface, yet Popcorn Time is not part of that ecosystem because it relies on torrent-based streaming protocols the manufacturer does not officially support. To run Popcorn Time on the big projected screen, you need an external source feeding the Laser TV over HDMI or a wireless casting pipeline.
Setting this up in Australia comes with a few local considerations worth knowing before you begin. Most households now run on the National Broadband Network, and while NBN can comfortably handle high-definition streams, the shared nature of the fibre-to-node segments common in outer suburbs of Brisbane and Adelaide means evening congestion can throttle your connection. Australian copyright law treats unauthorised streaming of copyrighted content as a civil matter rather than a criminal one in most cases, though ISPs such as Telstra and TPG are known to forward infringement notices on behalf of rights holders. A VPN is therefore widely used by cautious streamers to mask their activity, particularly when running peer-to-peer clients like Popcorn Time.
The right approach depends on what gear you already own and how tidy you want your entertainment unit to look. Some readers will prefer a compact stick hidden behind the Laser TV console, while others will hook up a small mini PC for greater flexibility. The steps below cover the most reliable paths and the small adjustments that make the projected image and audio feel native rather than tacked on.
Identifying the input ports on your Hisense Laser TV
Every Hisense Laser TV shares the same core port layout, though the exact count differs between the L5H, L9H, and PX2-Pro families. Look on the right-hand side panel of the console for two or three HDMI inputs, at least one USB-A port, an optical S/PDIF output, a 3.5mm audio jack, and an Ethernet socket on higher-end models. The HDMI ports are usually labelled HDMI 1, HDMI 2, and HDMI 3 (ARC), with the ARC-enabled port being the one you want to use if you plan to route audio back to a soundbar.
Before plugging anything in, switch the Laser TV on, open the input menu, and confirm each port detects a live signal when a device is connected. This baseline test takes thirty seconds and saves a lot of head-scratching later when an external source refuses to mirror. Many Australian installers position the Laser TV console close to a wall, which can make the side-facing ports awkward to reach, so a short right-angled HDMI adapter is worth keeping in the toolbox.
Picking an external source that handles Popcorn Time
The best external source depends on how you want to interact with Popcorn Time. A Google TV Streamer 4K or Nvidia Shield running Android TV can sideload the Popcorn Time APK, and both ship with remotes that pair cleanly with the Laser TV over HDMI-CEC. They also handle 4K HDR streams at high bitrates without dropping frames, which matters when the projected image stretches past 100 inches on a dedicated ALR screen.
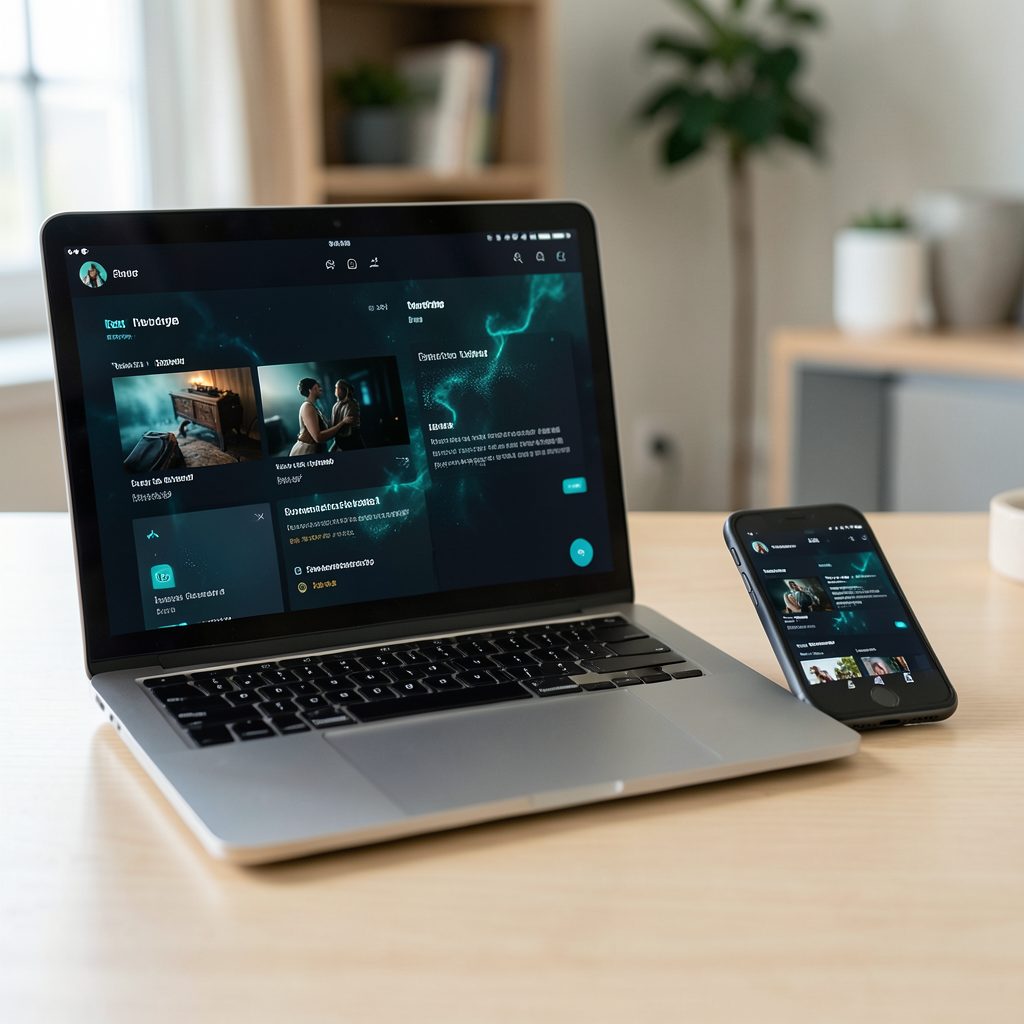
For users who want a more flexible computer-grade experience, a small Windows or Linux mini PC gives you access to desktop forks of the application with finer playback controls. A laptop is the cheapest path if you happen to have one sitting around, since you can simply run an HDMI cable from the laptop's output to the Laser TV and treat the screen as a second display. Power users sometimes pair a Raspberry Pi 4 or 5 running a lightweight Linux distribution with the build available through alternative Popcorn Time forks, which keeps hardware costs low and fan noise near silent.
Whichever device you choose, make sure it ships with HDMI 2.0 or higher so 4K content from Popcorn Time can pass through at full resolution without handshake issues. Devices older than five years often top out at HDMI 1.4, which will limit you to 1080p and strip out HDR, a noticeable downgrade on the Laser TV's laser-phosphor engine.
Setting up Popcorn Time on the external device
Once the hardware is selected, install Popcorn Time from the official builds page rather than third-party mirrors, which frequently bundle adware. On Android TV sticks, enable installation from unknown sources in the developer settings menu, transfer the APK via a USB stick or ADB push, and launch the app from the app drawer. On a mini PC, install the executable directly onto the local drive and let the application handle its own updates.
A VPN is almost mandatory for Australian users running torrent-based streams. Connect to a server in a neighbouring country such as New Zealand, Singapore, or Japan for the lowest ping times from Sydney or Perth, and confirm the kill switch is enabled inside the VPN client. The kill switch ensures the stream drops out entirely if the VPN tunnel collapses, preventing accidental exposure of your home IP address on the torrent swarm.
After Popcorn Time opens, set the resolution matching your Laser TV's native panel, which on most current models is 4K for 4K content and 1080p for HD. Disable hardware decoding only if you notice stuttering, since the hardware path on the Nvidia Shield generally delivers smoother playback than software decoding for high-bitrate remuxes.
Routing the signal and switching inputs on the Laser TV
Plug the chosen external device into the HDMI port you identified earlier, ideally the ARC-enabled one if you also want audio passthrough. A certified Ultra High Speed HDMI cable rated for 48 Gbps keeps the handshake reliable and supports lossless audio formats like Dolby TrueHD. Power the external device on, then press the Input or Source button on the Hisense remote until the correct HDMI channel shows the device's home screen.
Wireless casting is another option for one-off viewing. If you use an Apple-sourced fork of the application, AirPlay from a Mac or iPad to a connected Apple TV box, then route the Apple TV's HDMI output into the Laser TV. Chromecast with Google TV accepts the same cast from a Chrome browser tab, though peer-to-peer casting works best when both the casting device and the Laser TV sit on the same Wi-Fi band. Keep in mind that casting adds a small amount of latency, which can be noticeable when using Popcorn Time's built-in remote control features.
Many Australian households place their Laser TV near a Telstra Smart Modem or an Optus Wi-Fi 6 router, which makes 5 GHz casting reliable even across a single-storey home. If your wireless signal is weak, consider a mesh node next to the Laser TV console for steady bandwidth during long movie nights.
Adjusting display and sound for the Laser TV's projection engine
The factory picture modes on Hisense Laser TVs skew bright to compensate for ambient light, which can look overcooked once you feed them a clean Popcorn Time signal. Switch to Filmmaker Mode or Cinema mode to get a more colour-accurate baseline, then fine-tune the laser brightness down slightly if you view mostly after sunset. The ALR screens sold in Australian projector stores pair especially well with the lower laser setting, since they reject off-axis room lighting more effectively than a plain white wall.
Audio deserves attention too. Route the HDMI ARC signal to a soundbar or AV receiver and enable bitstream output in the Popcorn Time settings menu so Dolby Digital Plus and Atmos tracks pass through untouched. Disable the Laser TV's internal speakers in the audio menu once you commit to an external sound system, otherwise you will hear a faint echo layered on top of your main speakers.
Finally, run the Laser TV's auto-geometric correction routine after the external device is connected, since the keystone settings you saved for a different input may not match perfectly. A quick realignment takes under a minute and removes any subtle trapezoid distortion that crept in when you positioned the new gear.
Troubleshooting common connection issues
Even a clean setup occasionally misbehaves. If the screen shows No Signal when you switch inputs, reseat the HDMI cable on both ends and confirm the external device has fully booted before selecting the input, because some Hisense models will not re-poll the port after the initial scan. Black bars at the wrong aspect ratio usually mean the Laser TV is interpreting the signal as 4K when Popcorn Time is sending 1080p, or vice versa, so manually forcing the resolution in the Popcorn Time settings clears the mismatch.
Buffering during playback often points back to your NBN plan. Most Australian fibre-to-the-premises connections comfortably exceed 50 Mbps, but uploads needed for torrent seeding can be the weak link on entry-level plans. Caps uploads at a low value inside the Popcorn Time settings, or pause seeding entirely while you watch. If your VPN client behaves strangely while connected to Popcorn Time, particularly a kill switch that refuses to recognise a working tunnel, walk through the published troubleshooting steps for that specific failure mode before swapping providers.
Audio dropouts usually trace back to HDMI handshake glitches after the Laser TV wakes from standby. Powering the external source off and back on clears the handshake in nearly every case, and a small powered HDMI splitter can act as a stabiliser if the issue returns regularly.
Stream the projected catalogue the way it was meant to be seen, with a tidy single-remote setup that hides the external source behind the Laser TV console. Run through the steps once on a weekend, save the input label and picture mode you prefer, and the rest of the time you only need to press the Input button to dive straight into the Popcorn Time library on that massive laser-lit screen.