
Running Popcorn Time on a Synology NAS for Home Streaming
A Synology Network Attached Storage device has quietly become the centre of many Australian home media setups. Tucked next to the Wi-Fi router in a study nook in Brisbane, a townhouse in Perth, or a family home in Adelaide, these compact boxes quietly store years of photos, ripped Blu-rays, and downloaded audiobooks. Their built-in operating system, DiskStation Manager, runs countless add-on packages, and the more capable models come with Intel processors that can handle far more than simple file storage. For households that want a single device to act as a backup target, a photo library, and a streaming engine, the Synology platform is hard to beat.
Popcorn Time entered the scene as a Netflix-style app that streams movies and television episodes directly through peer-to-peer technology. Because every user both uploads and downloads, the catalogue tends to track new releases quickly, and the in-built subtitle search makes foreign shows accessible to anyone. Australian viewers have flocked to it for the very reason local streaming services sometimes feel light on catalogue depth, particularly when international shows air months ahead of any local licence. Pairing the two ideas, a Synology box running Popcorn Time as a Docker container, gives you a private streaming appliance you can leave on around the clock without a desktop PC humming in the corner.
Several realities of Australian life shape how this project comes together. The National Broadband Network now reaches most homes, although actual speeds swing wildly between fibre-to-the-premises suburbs in Sydney and Melbourne and older copper segments in regional centres. Our internet is metered on many rural plans, meaning the size of each torrent matters. Summer heat in Perth or Darwin can push a poorly ventilated cupboard past forty degrees, which is something to keep in mind when choosing where to place the NAS. Copyright law here follows the Commonwealth Copyright Act 1968, and rights-holder notices have been issued to local account holders. Each of those factors plays a role in the steps that follow.
This walk-through covers hardware preparation, software installation through Docker, mapping your media folders, casting the output to living-room televisions, and the privacy habits that keep your household on the right side of local rules. Both first-time Synology owners and people already running Plex or Jellyfin should find something useful inside.
Why a Synology DiskStation suits Australian households
A modern two or four-bay Synology enclosure arrives with a Linux-based operating system that already speaks every networking protocol a home could want. Files can be served through SMB for Windows laptops, AFP for older MacBooks, and NFS for Linux media players, all at the same time. The same box that holds your photo archive can host Docker containers, virtual machines, and surveillance camera feeds if you ever decide to expand its role. For Australian families, that flexibility removes the need for a dedicated home server PC, which would otherwise add to the power bill and generate unwanted fan noise in summer.
The hardware itself is unusually forgiving. Models like the DS223, DS423, and the more powerful DS920+ ship with Intel Celeron or similar chips and at least two gigabytes of RAM, plenty of headroom for a single streaming container. They also include scheduled power on and off routines, which helps reduce energy use during the day when nobody is watching anything. Many users in Melbourne and Sydney have found they can tuck a DS223 behind a television cabinet and never hear it at all.
Preparing your NAS and home network
Before any software is installed, the NAS needs to be connected to your router with an ethernet cable, updated to the latest DSM, and assigned a fixed IP address. Open Control Panel, head to Network, and either reserve an address through your router's DHCP settings or set one manually. Recording that address in a notebook saves hours later when port forwarding rules have to be re-entered. Australian NBN modems often double as routers, so the Synology should sit behind the modem rather than directly attached to the wall socket.
A volume dedicated to media makes housekeeping much easier down the track. Open Storage Manager, create a new volume or storage pool, and carve out at least one shared folder named something like Media or Movies. Permissions should allow the admin account full read and write access, plus at least read access for any other family members who might log in via mobile apps. A quick smoke test, dropping a sample MP4 into the folder and reading it from a laptop on the same network, confirms the basic plumbing works before any third-party software enters the picture.
Picking a Popcorn Time build that fits your setup
The original Popcorn Time project closed its doors years ago, and active development now lives in community-maintained forks. Among those forks, Time4Popcorn has remained a popular choice, with regular updates and builds for Windows, macOS, Linux, and Android. Because a Synology NAS runs on Linux but does not offer a graphical desktop in the usual sense, the Linux build is the one to look for. Head over to the Time4Popcorn download page and grab the version that matches your DiskStation's processor, which is almost certainly x86_64 for anything released in the last five years.
ARM-based units, such as the older DS213 or DS413, do exist in Australian homes that bought early, and they cannot run the standard Linux app without a compatibility layer. Those owners typically buy the official Popcorn Time fork for Android and run it through an alternative method, but for most current Synology hardware the x86 path is the one that works straight out of the box. Verifying the file checksum before uploading it to the NAS is a small step that has spared many people from corrupted installs.
Loading Popcorn Time through Docker on DSM
DiskStation Manager installs Docker through Package Center, and once the package appears in the main menu you can begin pulling the application image. Open Docker, switch to the Registry tab, and search for a maintained Popcorn Time image compatible with LinuxServer.io or a similar community repository. Pulling the image takes a few minutes depending on your NBN speed, and the file then sits ready inside the local image list.
A container needs three things to function: a path to its working folder, a path to your media folders, and an exposed network port for the optional web interface. From the Docker panel, create a new container using the advanced settings, mount the media share you created earlier to a path like /movies inside the container, and publish port 9000 on the same port inside the container. Memory limits of one or two gigabytes are more than generous, and even 512 megabytes leaves plenty of headroom for steady streaming inside a single household. After the container starts, the app is reachable from any browser inside the home by typing the NAS IP followed by the chosen port.
Mapping drives and pointing the app at your media
For the app to actually see your movies, the container's volume mapping has to point at a real folder full of files. Inside Docker, the path /movies can be linked to the Synology share /volume1/Media, which means any video dropped into the shared folder becomes visible to Popcorn Time without further configuration. Subtitles work best when they live in the same directory as the matching film and share its name, since the app will pick them up automatically rather than depend on a network request. Some users in regional New South Wales have discovered that keeping the metadata cache on the NAS, rather than on an external drive, prevents the library from vanishing after an unexpected reboot.
Permissions on the shared folder deserve a careful look. The container runs as a specific Linux user, and that user needs at least read access to every folder containing video files. If your collection lives under multiple user home directories, granting the container's user access to the parent share sidesteps many login prompts later. A small test run, opening one file from the library and confirming it actually plays, is faster than troubleshooting the whole setup later.
Casting to TVs and devices around the house
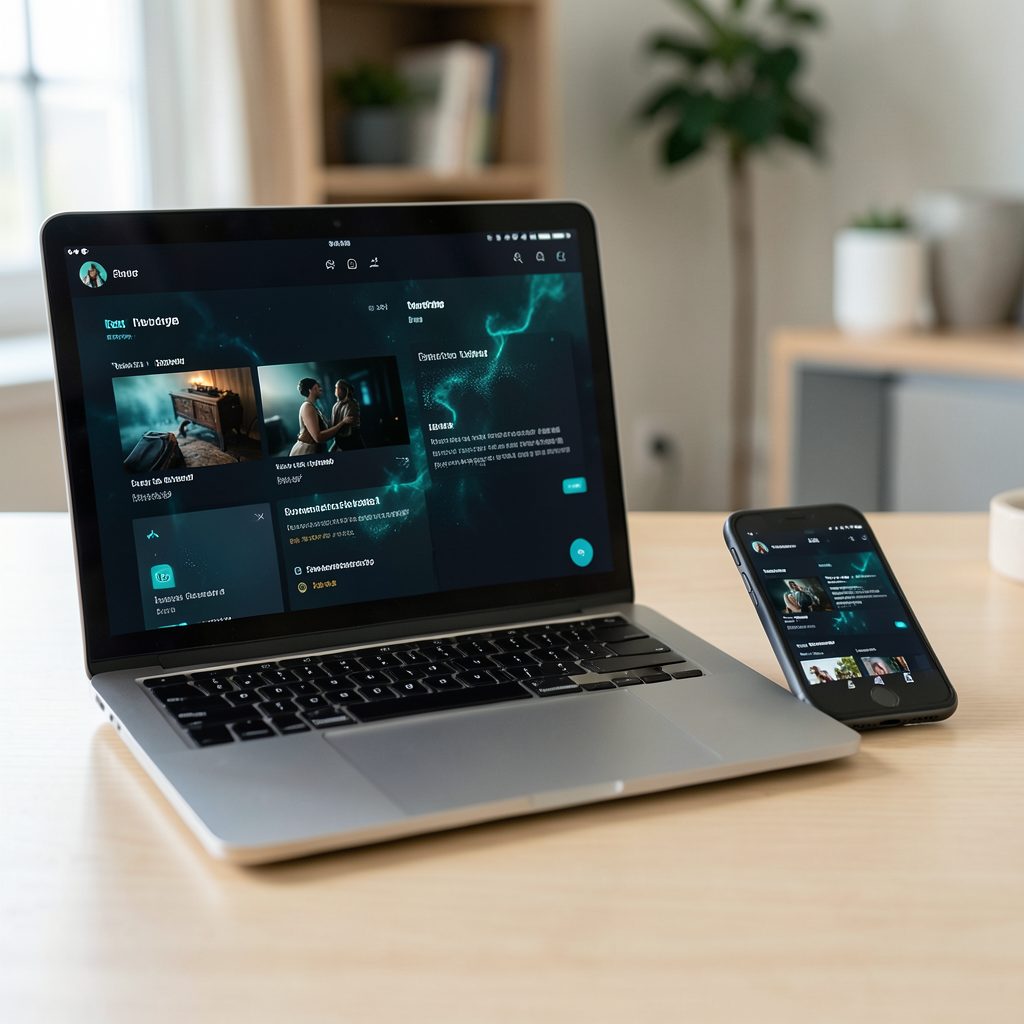
Popcorn Time's interface is designed around a ten-foot view, and casting that view to a big screen is straightforward once the container is running. Built-in Chromecast support pushes video to any television with a Chromecast dongle, Google TV streamer, or Android TV running in the lounge room. Australian households using Telstra TV or the Fetch Mighty box often have a Chromecast already tucked behind the panel. AirPlay works the same way for anyone with an Apple TV hooked up to a Sony or LG television, especially useful for families that prefer iPhones for everything from messaging to remote control.
Multi-device playback adds another layer for busy households. Because the application streams through peer-to-peer, a second tablet in the kitchen can play a different episode while the lounge room watches something else. Setting up the NAS IP as the casting target on each device is usually a one-time step, and family members quickly learn which remote controls which screen. Subtitles and audio track selection survive every cast, which is great news for bilingual households around Melbourne's inner suburbs and Sydney's western suburbs.
Keeping your activity private within Australian law
Popcorn Time relies on BitTorrent, which means every device sharing a connection also broadcasts its IP address to other peers. Under Australia's Copyright Act 1968, ISPs are required to pass on infringement notices sent by rights-holders, and the more serious letters escalate to account-level warnings. Repeated claims can lead to account suspension on some providers, particularly those tied to the iiNet, TPG, or Telstra networks. Australian privacy law also obliges ISPs to retain metadata for two years, which makes anonymising your own traffic worthwhile rather than paranoid.
A trustworthy virtual private network is the simplest way to shield your household from that scrutiny, and it adds a useful layer of security when travelling or using public Wi-Fi in cafés around Brisbane's CBD. Different providers handle torrent traffic in different ways, and a recent VPN review of 2025 options is a useful starting point for anyone new to the idea. Choose a no-logs provider with a kill switch, run it on the NAS itself or your router so every device benefits at once, and confirm the connection is active before opening the Popcorn Time interface for the first time.
Your home network is now ready to act as a private streaming hub built around Australian conditions. The Synology will run quietly day and night, Popcorn Time will keep its library current, and your lounge-room television is only ever a tap away from the latest film or episode. Take a moment to test casting from each family device, double-check that the VPN connects on reboot, and treat the share as you would any other shared folder. With those small habits locked in, the setup is something the household can rely on for years rather than weeks, and there is no longer any need for the family desktop to stay powered on just to enjoy a movie night.